|
Add a Job |

|

|

|

|
|
Add a Job |
|
|
|
|
To add a new Job to the system, perform the following:
1.Click the Import/Export Management option on the Setup tab. The Job List page will be displayed.
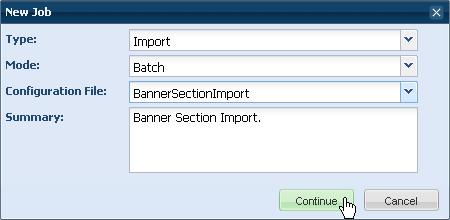
2.Click the New Job button.
![]()
3.On the New Job window, select a job Type (i.e. Import or Export), a job Mode (i.e. Batch, Realtime, or On-Demand), and a configuration file appropriate for your system (i.e. Banner section import, PeopleSoft section export, etc) using the drop-down list and click Continue.
4.Enter a job name. This should be a name that will serve to remind you of the reason for the job and to help distinguish it from others on the list.
5.Enter a job description if desired.
6.Select any applicable job filter options (i.e. term or campus).
![]() NOTE: The list of terms and campuses corresponds to the terms and campuses created in Astra Schedule. The SIS names of these items must match in order for the import of data to be successful.
NOTE: The list of terms and campuses corresponds to the terms and campuses created in Astra Schedule. The SIS names of these items must match in order for the import of data to be successful.
7.Enter any other applicable SIS connection information (i.e. user ID and password for the SIS system login).
8.Click Save.
See also "Create Job Schedule"
Page url: ?add_a_job.htm

