Accounting Client Installation |

|

|

|

|
Accounting Client Installation |
|
|
|
|
The ObjAcct client application must be available to any user that requires access to advanced accounting functions or configuration settings within ObjAcct. The client application installation utility is available from the Accounting Configuration page in Astra Schedule. A user with permission to access this option can download the accounting client installation .msi file at any time and run the installation. This shortcut to the installation file is a convenience to assist in the deployment of the ObjAcct client.
To download and install the client application, perform the following:
1.Log in to Astra Schedule as an accounting administrator.
2.Click the Accounting Configuration option on the Setup tab.
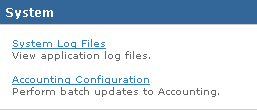
3.Click the link labeled Download Accounting Module Client Application.

4.A window will appear regarding the ObjAcctSmartClientSetup.msi file. Click Save File.
5.Select a destination for the saved file in the Windows file browser and click Save.
6.Locate the saved .msi file and double click the file to launch the installer.
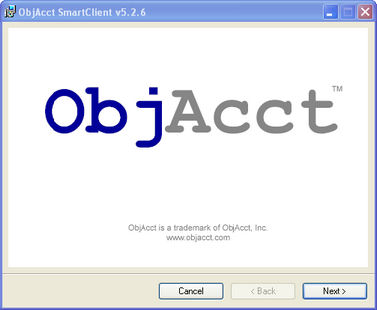
7.Click Next.
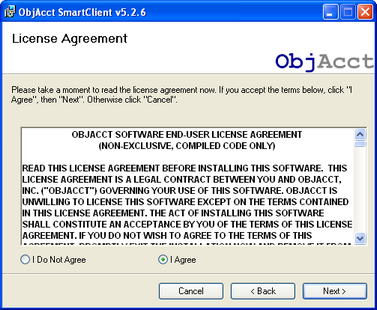
8.Click I Agree and then click Next.
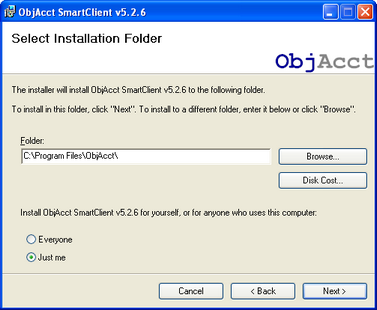
9.Confirm the installation folder and click Next.
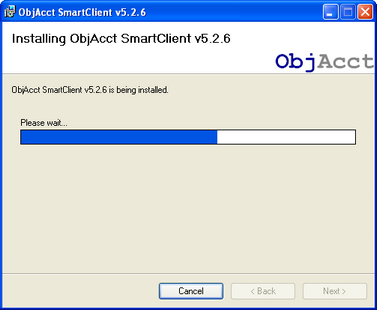
10.Wait while the ObjAcct client is installed.
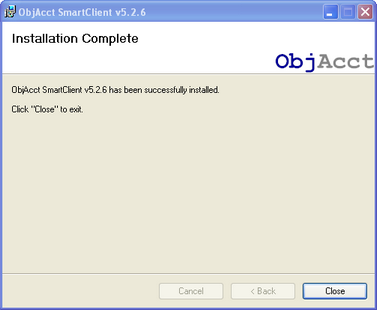
11.When the installation is complete, click Close to finish the installation process.
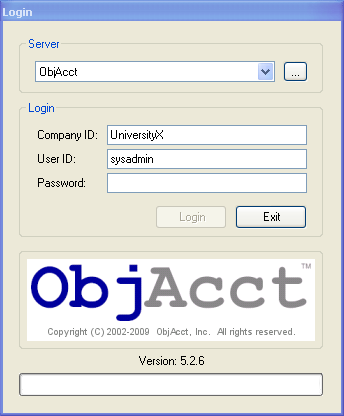
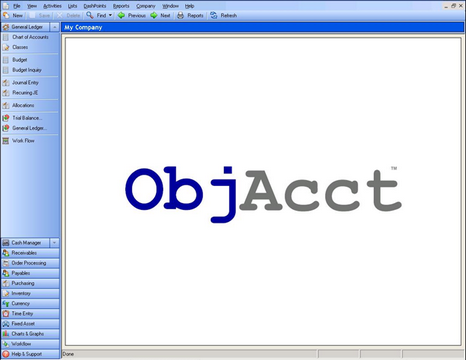
12.An ObjAcct Smart Client shortcut is placed on the desktop of the client machine. Locate this file and double click the shortcut to launch the client.

13.On the Login window, click the browse button to the right of the server drop-down menu. (...)
14.On the Server Reference window, enter a name for the connection.
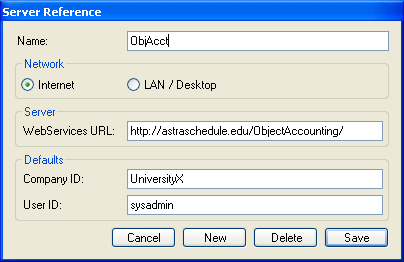
15.Select the Internet radio button.
16.Enter the WebServicesURL. This is the URL of the ObjAcct virtual directory recorded and used previously during the accounting server installation and activation.
17.Provide the default Company ID and User ID for the client. The Company ID will be equal to the Institution name in your Astra Schedule installation. The User ID is the user ID for this user from Astra Schedule.
18.Click Save.
19.Enter the user’s password and click Login.
The ObjAcct launcher will build a cache on the user's machine and then load the application.
![]() NOTE: An Astra Schedule user that has been granted permission to access the ObjAcct application must log in to Astra Schedule first to populate ObjAcct with their user credentials.
NOTE: An Astra Schedule user that has been granted permission to access the ObjAcct application must log in to Astra Schedule first to populate ObjAcct with their user credentials.
Page url: ?accounting_clientinstallation.htm

