|
Standard Upgrade |

|

|

|

|
|
Standard Upgrade |
|
|
|
|
The standard, or typical, upgrade process can be used when a maintenance release is made available for Astra Schedule and you wish to upgrade your existing installation to the new release. The upgrade process is similar to the initial installation, using the same installation file (MSI) and application Control Panel. Because the application is already installed, different Control Panel options will be used. The Control Panel program will read the current configuration of your existing application instance and use these values when upgrading. In most cases, none of these values will need to be changed when walking through the upgrade process.
This standard upgrade process will perform the following steps:
•Extract and deploy the updated Astra Schedule application files
•Transfer added or modified files to the upgrade installation
•Configure the new application using the information in your existing installation
•Convert your existing application database to reflect any database changes in the new version
•Launch the updated application
![]() NOTE: It is strongly recommended that you perform a database backup prior to the upgrade.
NOTE: It is strongly recommended that you perform a database backup prior to the upgrade.
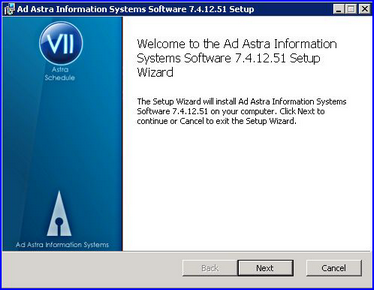
1.Launch the AstraSchedule.7.x.x.x.msi file ![]() and click Next on the Welcome screen to continue.
and click Next on the Welcome screen to continue.
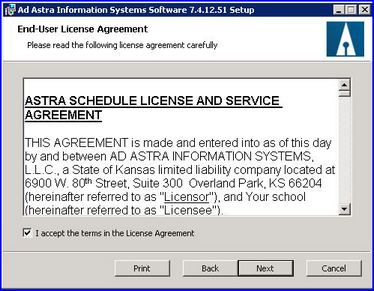
2.Accept the terms of the license agreement and click Next to continue.
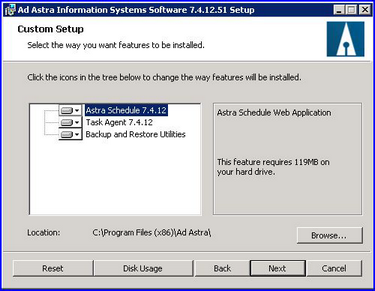
3.Confirm the components to be installed and specify the appropriate installation location and click Next to continue.
![]() NOTE: The default installation location for Windows Server 2003 is “C:\Program Files\Ad Astra\” and “C:\Program Files (x86)\Ad Astra\” for Windows Server 2008. Verify that the location specified is correct based on your current existing installation. Use the Browse button to point the Astra Schedule installation to the same location as the currently installed application files if the existing instance is not installed to the default path.
NOTE: The default installation location for Windows Server 2003 is “C:\Program Files\Ad Astra\” and “C:\Program Files (x86)\Ad Astra\” for Windows Server 2008. Verify that the location specified is correct based on your current existing installation. Use the Browse button to point the Astra Schedule installation to the same location as the currently installed application files if the existing instance is not installed to the default path.
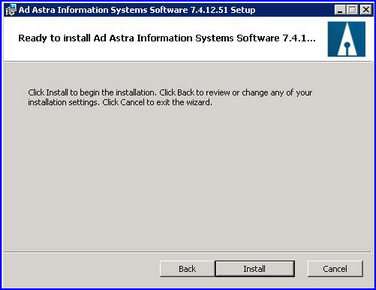
4.Click Install to deploy the application files and the installation control panel.
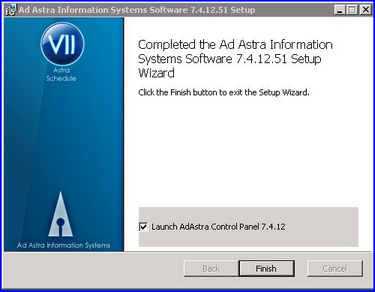
5.Wait while the installation of the upgraded application files takes place, then click Finish with the option selected to launch the Control Panel.
![]() NOTE: Due to Windows Server 2008 Security settings you may have to choose not to launch the control panel through the application installer after the files are deployed. To run the Control Panel as Administrator click the Start button from the server desktop and right click “Astra Control Panel 7.X.X” where 7.X.X is the Astra Schedule version being installed and choose “Run as Administrator”.
NOTE: Due to Windows Server 2008 Security settings you may have to choose not to launch the control panel through the application installer after the files are deployed. To run the Control Panel as Administrator click the Start button from the server desktop and right click “Astra Control Panel 7.X.X” where 7.X.X is the Astra Schedule version being installed and choose “Run as Administrator”.

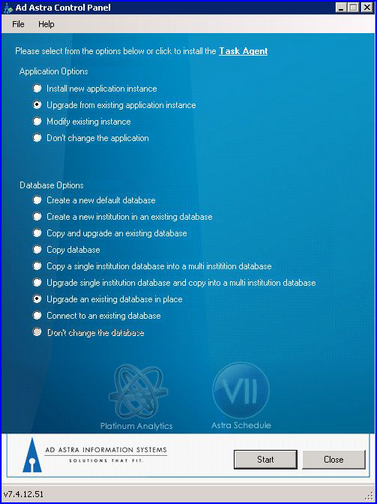
6.On the Control Panel window, select the Application option "Upgrade from existing application instance" and the Database option "Upgrade existing Astra Schedule version VII database in place". You will be prompted to select which existing application instance in the next step.
Click Start to begin.
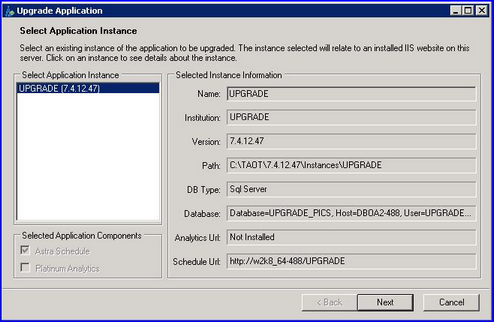
7.Select the existing installed application instance to be upgraded. The configuration information for the selected instance is displayed on the right.
The control Panel will detect and display any existing installations of previous versions. Select the appropriate existing application instance to be upgraded. The configuration information for the selected instance is displayed on the right. Click Next to continue.
![]() NOTE: If no installed application instances are found, review step 3 related to the deployment of the installed files. The Control Panel assumes that existing instances to upgrade will be at the same base path as the new application files.
NOTE: If no installed application instances are found, review step 3 related to the deployment of the installed files. The Control Panel assumes that existing instances to upgrade will be at the same base path as the new application files.
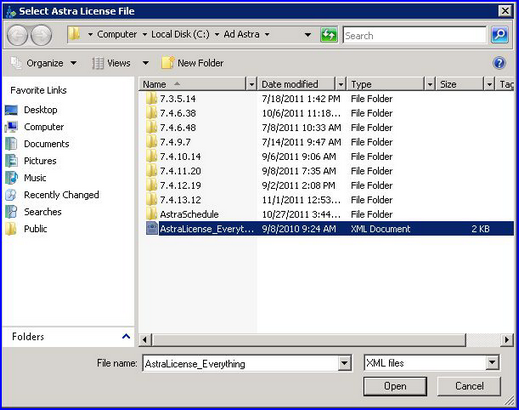
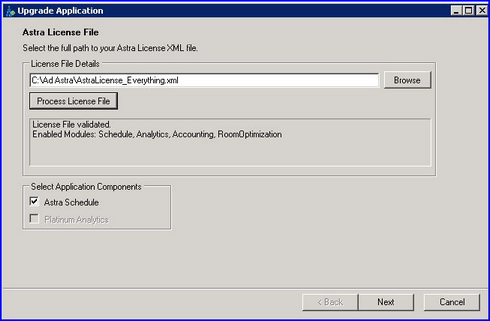
8.Click Browse to select the application license file. The directory location will default to the location of the license file selected for initial installation.
![]() NOTE: License files are distributed by Astra Schedule implementation or support staff during initial installation.
NOTE: License files are distributed by Astra Schedule implementation or support staff during initial installation.

9.Select the license file and click Open.
10.With the file path displayed, click Process License File to validate the license. You will then see the Components validated in your license file and you will be able to proceed. Click Next to continue.
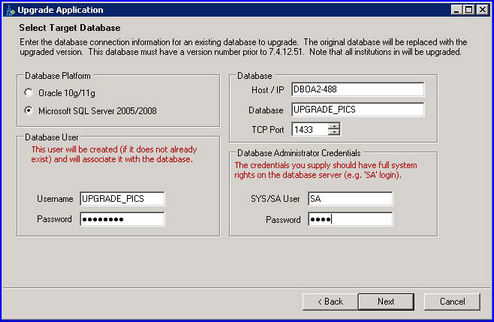
11.If using Oracle, skip to step 12. For MSSQL Server only, confirm the following information:
•The username and password for the Astra Schedule database. The current values are those from the existing application. This becomes the Astra Schedule application's login for its database going forward. It is advisable to leave these values as they were previously and not change them.
•The host name or IP address of the database server. The current values are those from the existing application.
•The MS SQL SA username (required for upgrade).
•The MS SQL SA password (required for upgrade).
•The MS SQL TCP port (this value will default to 1433).
Click Next to continue. The connection will be tested to make sure it is successful. If there is a problem with the connection an error message will appear.
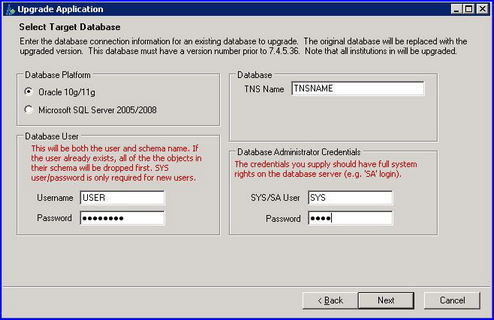
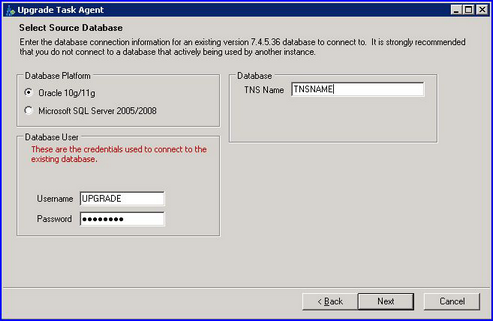
12.For Oracle only, confirm the following information:
•The username and password for the Astra Schedule database. The current values are those from the existing application. This becomes Astra Schedule's login for its database going forward. It is advisable to leave these values as they were previously and not change them.
•The TNS Name as configured in the existing application.
•The Oracle SYS username (not required for upgrade).
•The Oracle SYS password (not required with upgrade).
Click Next to continue. The connection will be tested to make sure it is successful. If there is a problem with the connection an error message will appear. If the schema already exists, a message will appear indicating that schema objects will be rebuilt. Click “OK” to this message.
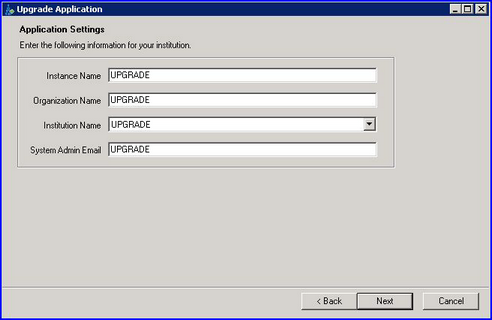
13.Confirm application settings and click Next to continue.
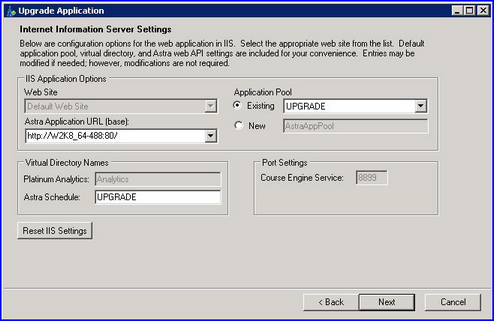
14.Review the application instance name, URL base, virtual directory names, and port settings specified during the initial installation. Make any desired changes and click Next to continue.
IIS Application Options
The Astra Application URL will default based on the existing web site for the previously selected application instance, but may be changed if desired.
Virtual Directory Names
Specify the virtual directory alias for the application(s) being installed. This directory name will be the application's access name in your application URL.
Application Pool
The current existing application pool for the selected application instance will be selected by default. If desired, a new application pool may be specified.
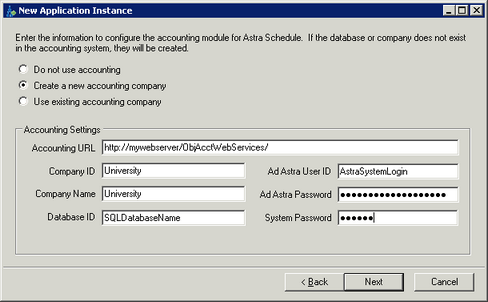
15.Accounting Module Setup
Confirm your accounting application integration.
If you are not using the accounting module, select "Do not use accounting".
If you are already using the accounting module, select "Use existing accounting company" and confirm the Accounting Settings displayed here.
If setting up Accounting for the first time, choose “Create a new accounting company" and enter the Accounting Settings. See the User Help chapter on Accounting if unsure.
Click Next to continue.
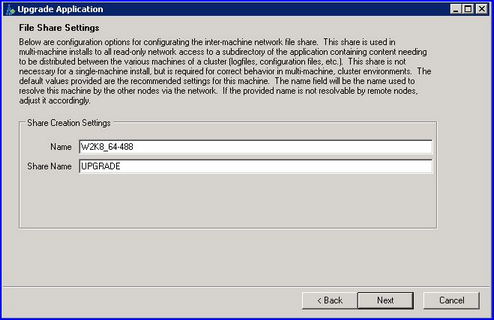
16.The file share settings values will be populated by default. Click Next to continue.
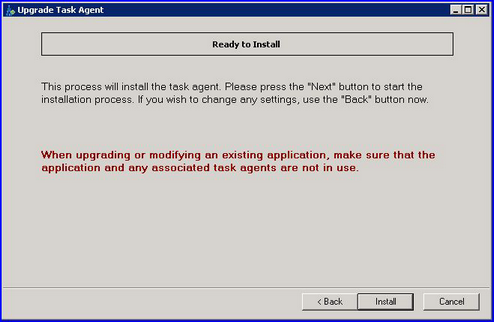
17.You are ready to install the application and database. Click Install to perform the installation.
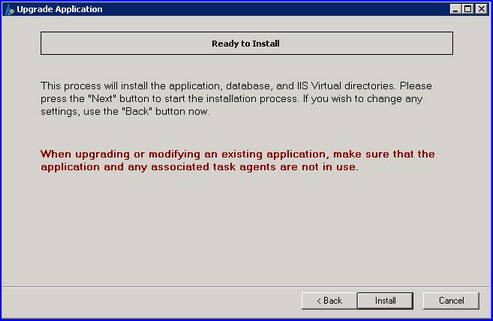
18.This step may take several minutes and will perform several tasks, including the following:
•Unpack files
•Configure application
•Configure IIS
•Upgrade/transform database
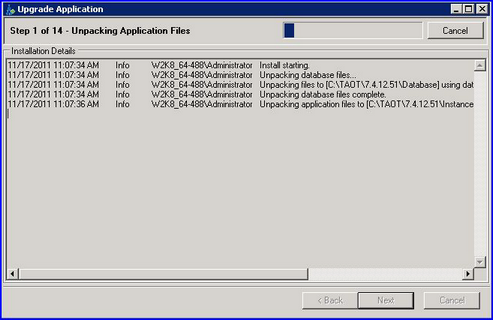
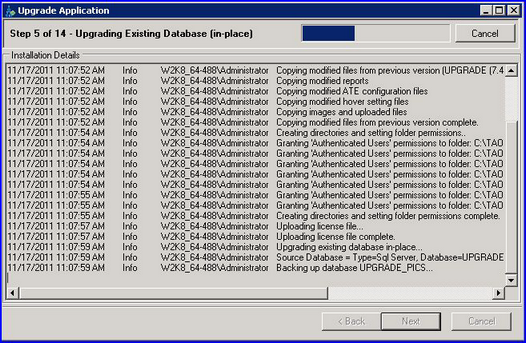
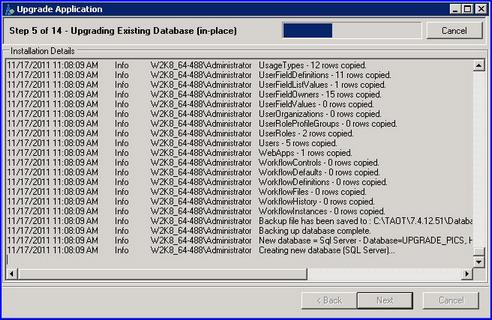
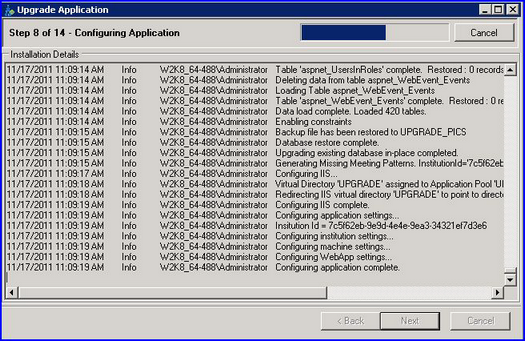
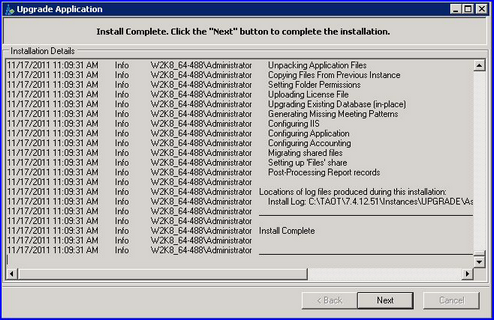
The control panel may encounter and correct errors during the database creation process. These will be logged and reported in the installation progress window.
If you receive a message that errors were encountered and the application installation does not complete, you can check the log file to investigate further. These files will be required by Ad Astra Technical Support to troubleshoot the issue.
To find the log files, browse to the following locations:
C:\Program Files\Ad Astra\7.X.X.X\AstraCP.log for installation logging.
C:\Program Files\Ad Astra\7.X.X.X \AstraCP-DB.log for database creation logging.
If no errors are encountered and the installation is complete, click Next to continue.
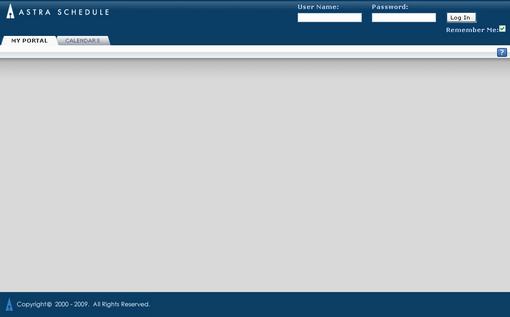
19.Click the VII Astra Schedule logo button to test the application. The guest portal page should be displayed.
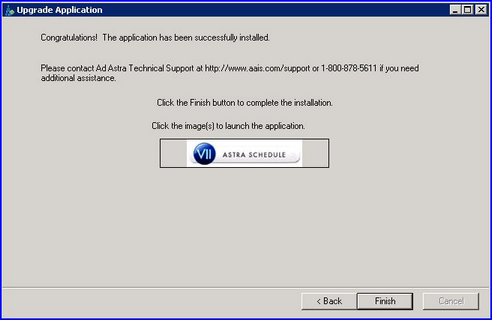
20.Click Finish on the Control Panel window to complete the application/database upgrade process.
Proceed to upgrade the Task Agent (required).
Upgrade the Task Agent
The Astra Schedule Task Agent is a Windows service installed on the machine that is responsible for coordinating transactional processes with other systems (i.e. SIS integration) as well as performing scheduled tasks like report subscriptions, batch jobs, sandbox scheduling runs, and workflow notifications.
![]() NOTE: The Task Agent is a required component for proper functioning of the application. Features such as the room assignment optimizer, event workflow notifications, and section imports will not work without the Task Agent.
NOTE: The Task Agent is a required component for proper functioning of the application. Features such as the room assignment optimizer, event workflow notifications, and section imports will not work without the Task Agent.
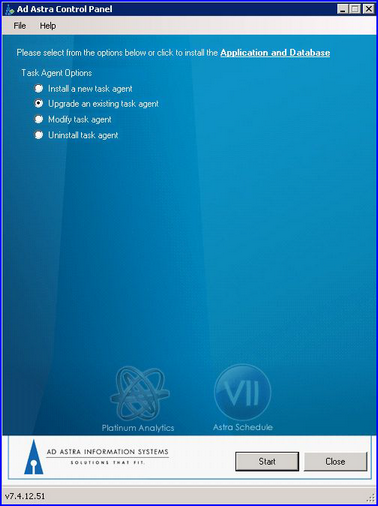
21.At the top of the Control Panel, click Task Agent.

22.Select the option to "Upgrade an existing task agent" and click Start.
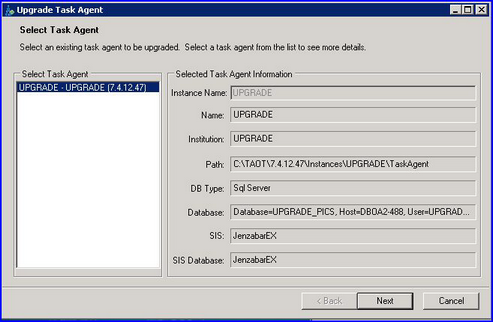
23.Select the appropriate existing Task Agent to be upgraded from the list and click Next to continue.
24.Select the applicable Astra Schedule application database platform and provide login credentials for the application instance installed and click Next to continue. See steps 11 and 12 for details for the same database credentials needed for the application upgrade. These are also needed for the Task Agent upgrade.

25.Confirm your SIS interface type and connection information brought forward from the existing Task Agent. The SIS Type selection will dictate which connection parameters are required.
Click Next to continue. The connection information will be verified and either proceed to the next step or display an error message.
See the applicable User Help SIS Addendum for details on connecting to your SIS.

26.Specify the new task agent name to be used (typically the application instance name) and click Next to continue.
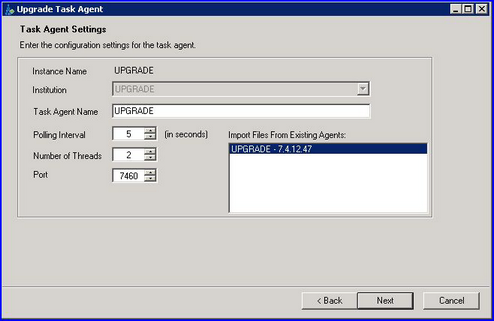
![]() NOTE: The current Task Agent may reference customized files such as SIS Import/Export Spoke files. To ensure these get copied to the upgraded application instance, verify the “Import File From Existing Agents” has your previous Task Agent name highlighted in Blue.
NOTE: The current Task Agent may reference customized files such as SIS Import/Export Spoke files. To ensure these get copied to the upgraded application instance, verify the “Import File From Existing Agents” has your previous Task Agent name highlighted in Blue.
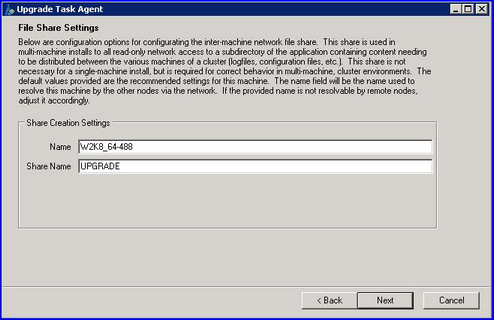
27.The file share settings values will be populated by default from your Task Agent Name selected in Step 23. Click Next to continue.
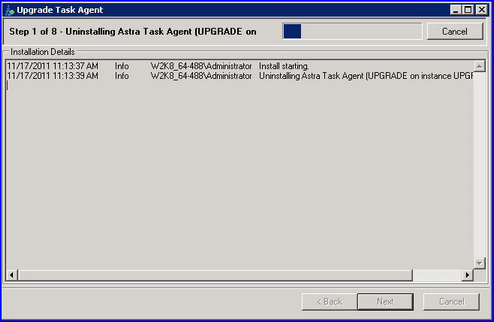
28.Click Install.
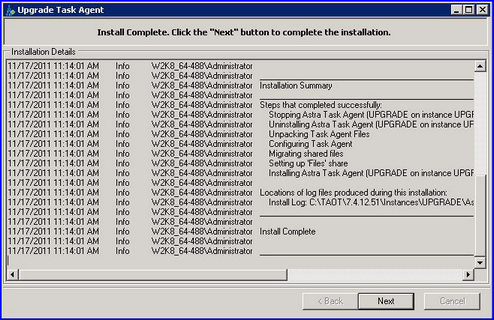
29.Wait while the task agent is installed and then click Next to continue.
30.Click Finish when completed.
Congratulations – you’re finished!
Users can now log in to the application and continue work as usual.
Page url: ?standard_upgrade.htm

